Automated (some also call it Automatic) Dialogue Replacement is a relatively common process in film-making where actors re-record their dialogue in a studio after the location filming has finished, to match new recordings of their dialogue to the images that were shot in production.
WHAT IS THE GENERAL PROCESS
Usually, the actor is positioned in front of a microphone and a monitor screen that shows the footage they are attempting to sync to. The dialogue is often broken down and tackled line by line or even phrase by phrase. A line is looped to happen over and over again, usually with a visual count before the video clip (such as numbers on a screen with accompanying sounds) to help the actor get in sync with the line and to know when to start. The actor prepares as the count is given, and they attempt to speak the dialogue in sync with the movement of their mouth on screen. There are a lot of elements to try to match up and shape: timing for each syllable, phrasing, intensity, emotional expression, pitch.
WHY WOULD YOU DO IT
Ideally, obviously, one would record good audio from the start while filming on location. Sometimes, though, a film location is too noisy for recording clear dialogue on set. Air and road traffic, noise from passersby, ventilation systems and other things can be difficult to remove from audio that was recorded on set. Wide shots might mean that it is difficult or impossible to use normal microphone booming techniques to record the sound properly. Action sequences might also mean that using wireless lav microphone packages would risk getting them damaged. And sometimes, the activities or positions of actors make it hard for them to give their lines the emotional content they wish to offer. And some people simply prefer the control and quality of sound that one can only get in a controlled studio environment. Many films simply take it as given that they will be rerecording their dialogue after production.
WHY NOT TO DO IT
ADR is often a tedious and time-consuming (and thus expensive) process - you’ll likely be paying your actors extra for the sessions and will likely need to rent a studio. Even actors who are used to the process often need to do several takes before being satisfied - and sometime the final result is a composite of pieces of several takes painstakingly edited together. Not only does one need to get the timing correct, the considerations of intensity, pitch and other elements of vocal expression needs to be factored in. If the image on film portrays the actor yelling at top volume, that needs to come across in the recording of the audio in the ADR session. And it can be challenging for even the most experienced actor…even if one has done dozens of takes on the same line after hours in the studio, one still needs to approach every take of every line to have it sound as fresh and spontaneous as if it truly was recorded on the set during the filming.
For those actors who are not used to the process, it can be even more of a long and frustrating experience.
And too, sometimes the actors that were used are simply not available for ADR sessions after production, as they may have moved on to other work or other reasons.
Even if the audio that was recorded on location is less than perfect, there are tools and techniques for cleaning up background noise or altering and editing sound to a more satisfactory quality. While such audio editing and clean up can also be technically challenging, time-consuming and expensive in its own right, it may still be cheaper to clean things up rather than to re-record in an ADR session.
WHAT DO YOU NEED
- You’ll need a quiet room to record in - ideally, this would be a proper recording studio built with acoustic isolation and other principles in mind.
- You’ll want a computer with two screens: one for you to run the session, and the other to seen video to the actor so that they can see the footage they are trying to sync to. If there are others who are overseeing the session, they may need their own screen. If it’s just you and the actor, you MIGHT be able to get by with one screen, but it would mean that you’ll have to be absolutely silent while recording their vocal lines.
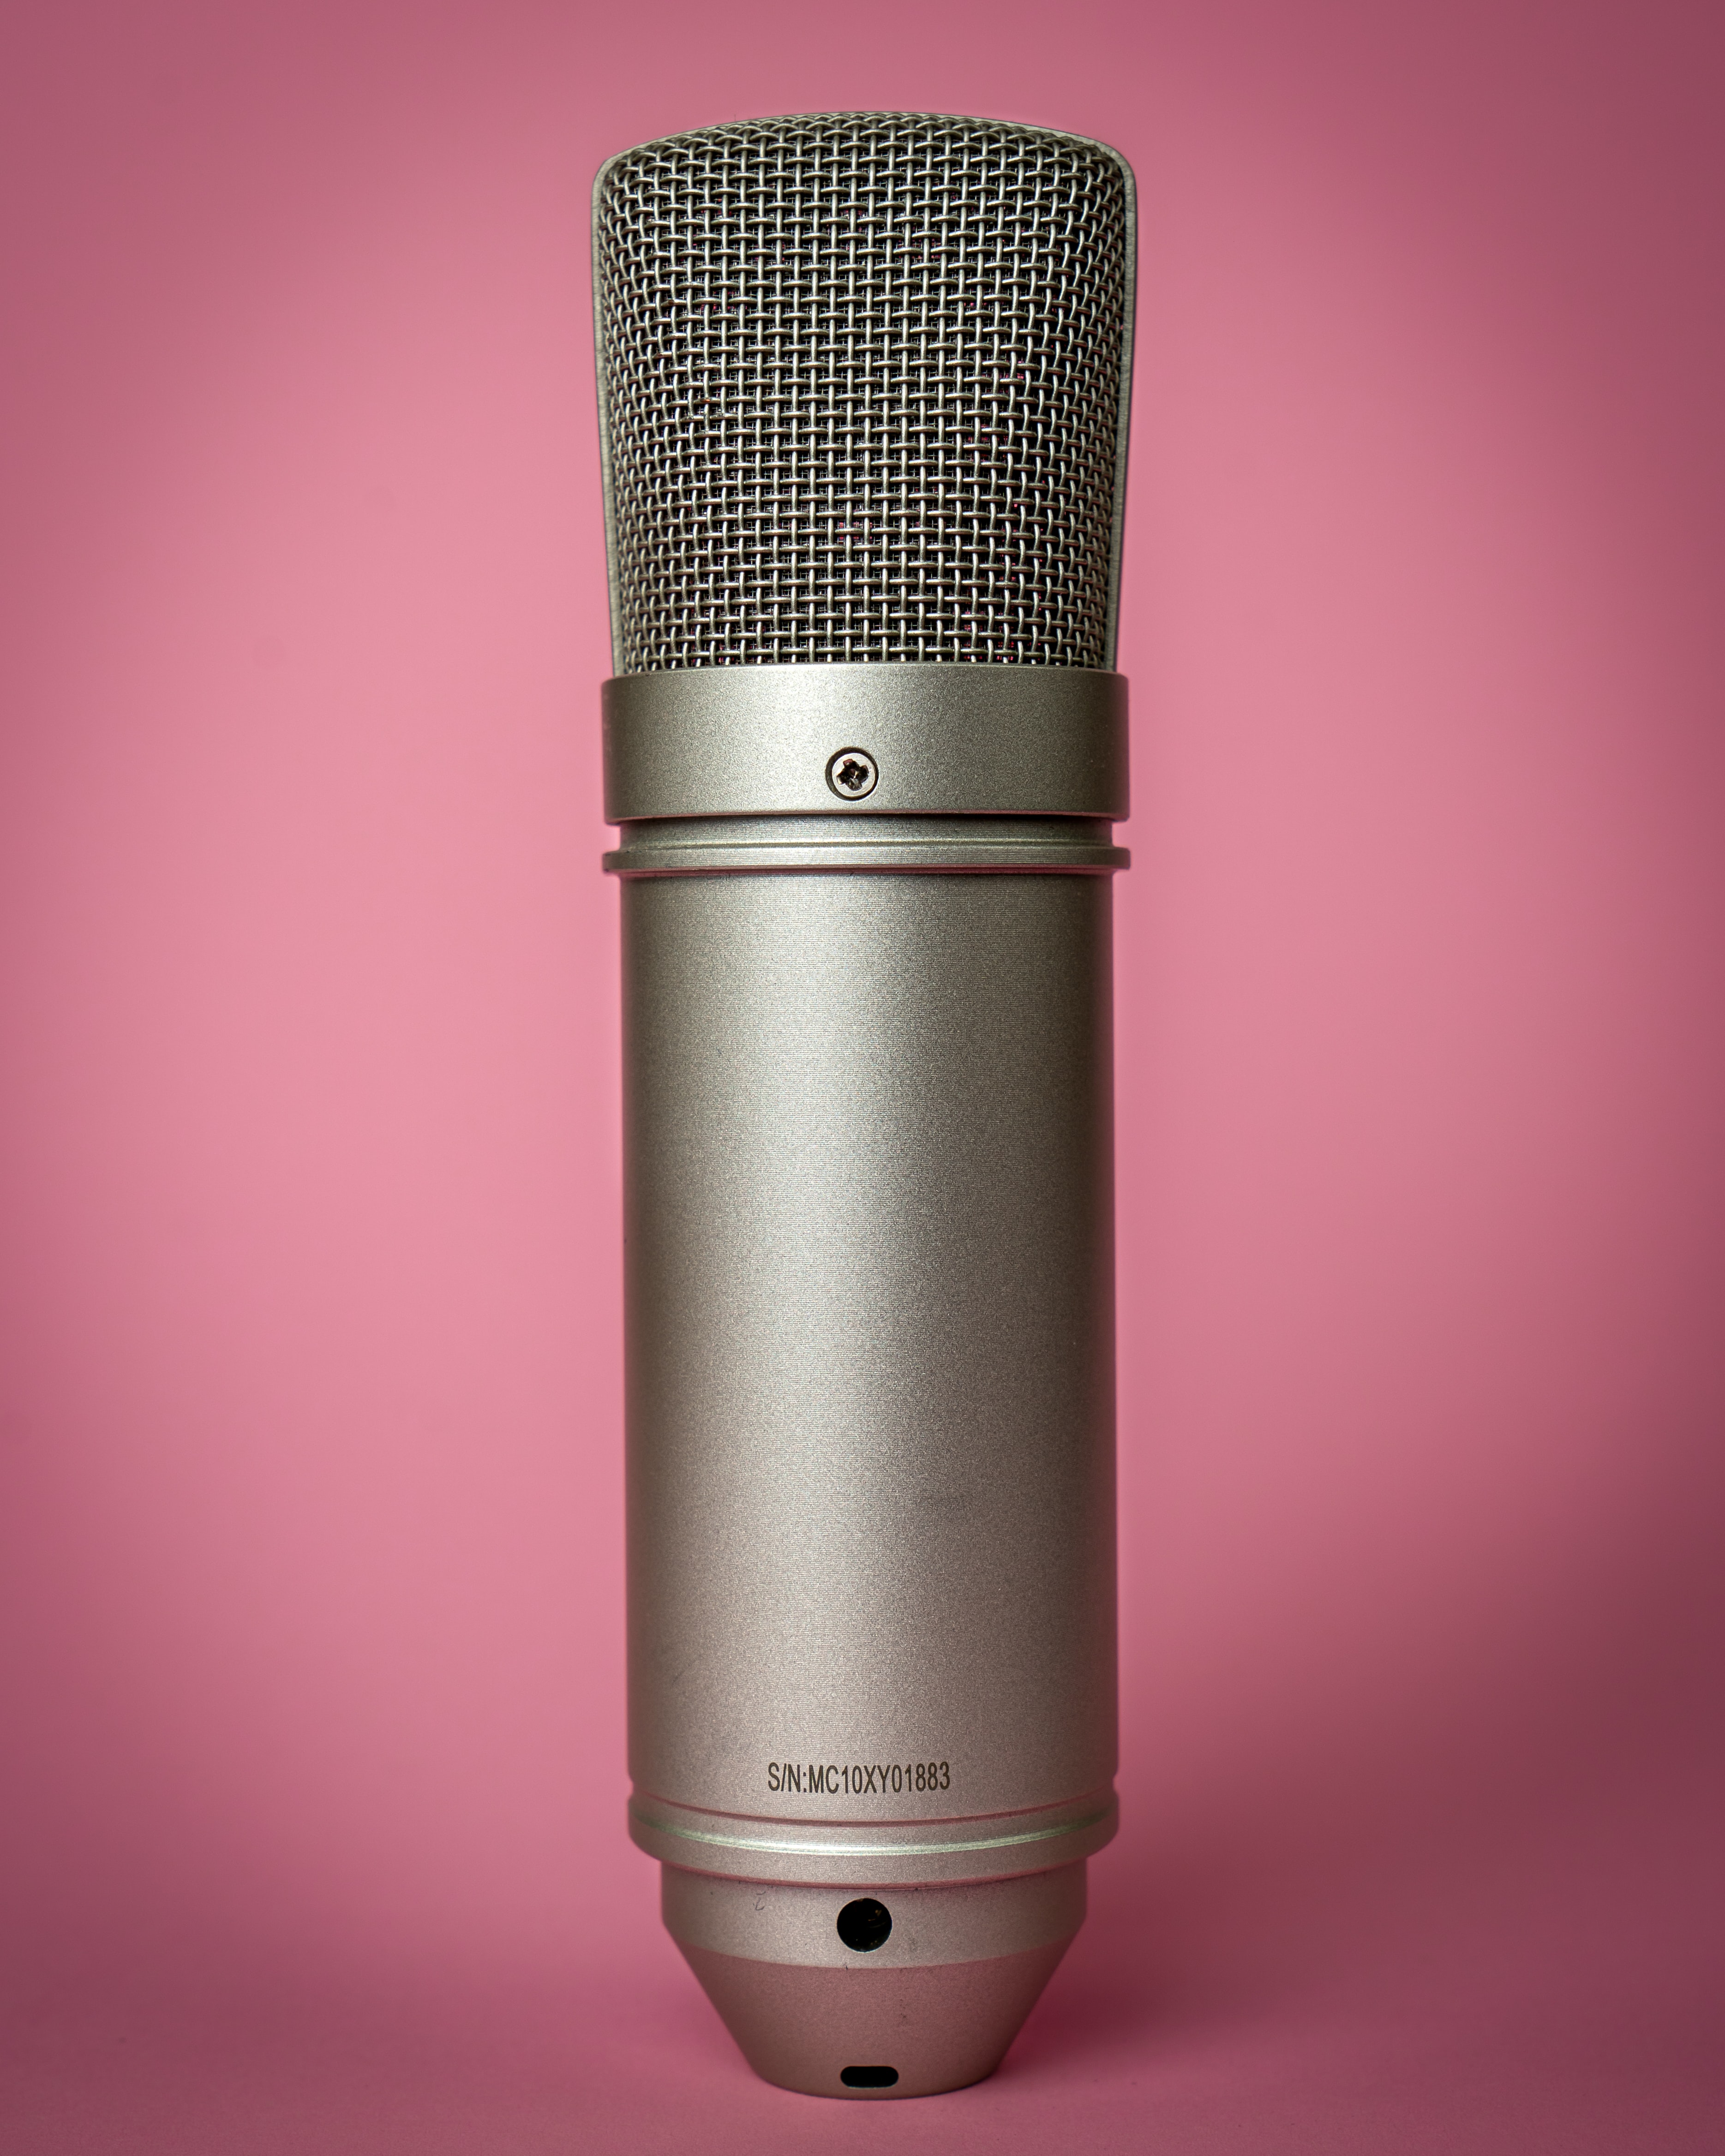
- You’ll need a microphone for the actor - ideally it will be the same model as the one that was used on location during production, especially if you’re only replace part of their dialogue.
- A pop filter, a screen you attach to the microphone stand should be employed to keep the plosives (the “b’s” and “p’s” of the dialogue from blasting the microphone with puffs of air and causing “thunks” in the audio.
- You’ll need some way of getting the signal from the microphone into the computer, such as an audio interface.
- You should have headphones for yourself and for the actor and a way for you to speak with the actor to discuss changes or elements for each take.
- You need to have a list of all the dialogue you need replacing by a specific actor, broken into lines or phrases. It can also help to have an idea of where each line is, in the overall story or structure of the film, as context can be very important to how a line should be delivered.
- You’ll need software that can play loops of video while also recording audio - most nonlinear video editors and professional level audio recording software can offer at least some basic functionality in this regard and there is specialty software and plugins that are available specifically for ADR sessions.
- You can find “countdowns” that other folks have created for visual and aural cues to feed to your actor’s headphones to let them know when the recording will start.
- You’ll need to make notes for each take of each line, as you’ll be generating a LOT of audio files. Try to figure out what elements of expression you need to focus on and some context. (“This line need to be almost, but not quite shouted, as Billy is starting to get angry with the taxi driver as the car chase is beginning…he is concerned about Carla getting kidnapped.”)
- Figure out a naming system for the files that lets you know easily what it is (“Page 17 - Scene 27 - Billy - Line 6: You’re a Cheat - Take 12 - GOOD”). Make sure you use your notes to indicate which take, or which parts of which take are good.
HOW TO DO IT
Each setup (including each software package) will have things go a little differently than others, but generally a session would run as follows:
- Let the actor know which line you’re about to do.
- Make sure they know the context surrounding the line, so that they can express themselves in a way that’s appropriate to the visual and the dramatic feel.
- Ask them to act out the line as they will during recording so that you can make sure you have good levels going into your preamp/computer/software.
- Make sure they can hear any audio at the appropriate volume level in their headphones, including the countdown.
- Insert the visual/audio countdown before the line you’re recording and play everything a few times - the actor will need get used to the timing or when to start speaking how to pace their words and syllables.
- Some software will automatically loop everything, creating new audio tracks or files for each repeat of the loop (often known as “comping” or “take folders” - it will depend on the software).
- Listen back to things to see what might need tweaking in the actor’s performance. Give them notes in as clear terms as possible.
- Make sure you label the recorded audio files correctly.
- Make sure you have made clear notes for yourself and whoever else on the postproduction team might be working with the audio from the ADR session.
- SAVE OFTEN! And make sure you back up your files.
You’ll need to figure out what your “good enough” will be, and it may vary from line to line. Some lines, at particular dramatically important parts, may need more care and work than others that are not important. You’ll want to keep an eye on time, making sure to take breaks - some actors may belong to unions that have strict rules about breaks for such work. If you know that time will be tight, it would be best to start work on the lines that are most important or need the most work.
The most important thing is to pay attention to your actor - everything in an ADR session revolves around them and their performance.. Make sure that they are not “blowing out” or tiring out their voice as that deterioration in quality can been easily heard. Give them everything that they ask for - the more comfortable they are, the better performance they’ll give. Do what you can to keep them from getting frustrated. It is a key part of your job to be professional and also affable - do what you can to make what is essentially a gruelling process as light-hearted as possible.
Pitch of voice will likely be lower in pitch in the recording studio as compared to the audio from location production.
If one is in a hurry and can’t get a line performed perfectly in sync with the visual, there ARE ways of stretching and shrinking audio to try to match it up to a visual timeline, but…the cheap software that does that sort of the thing CAN introduce distortions and artifacts into your audio. And the software that can do this more cleanly is going to be more expensive.
ADR is a tool that can greatly improve the sound of a film, but it is not without some cost, in terms of time and effort. Sometimes, it makes the most sense to go with ADR to address issues, but sometimes one has to weigh budget, schedules and skills to be able to judge things.
"Microphone" Photo by Mika Baumeister